Jaggi blog
Jaggi blog, is only another blog for you can 'despotricar' and show to the word that you want.
This blog want to put a lot affort in management of pictures.
In
producction:
http://myblog.d2clon.net
TODO
User management:
-management
groups, associating wich group with another groups for extends acess,
associating which picture with a group for only this group can look
it.
-management users, associating which user with a group.
Applet:
-for upload pictures with porcent process bar.
Themes:
-implents a themes management.
Pictures:
-best management and process.
Features
Login:
-login as administrator using a name and password
Element management:
-add new
element.
-management element.
-add new picture.
-add new zip
file with multiple pictures.
-management pictures
Pictures:
-the system creates automactly two picutures thumb versions.
Random principal picture:
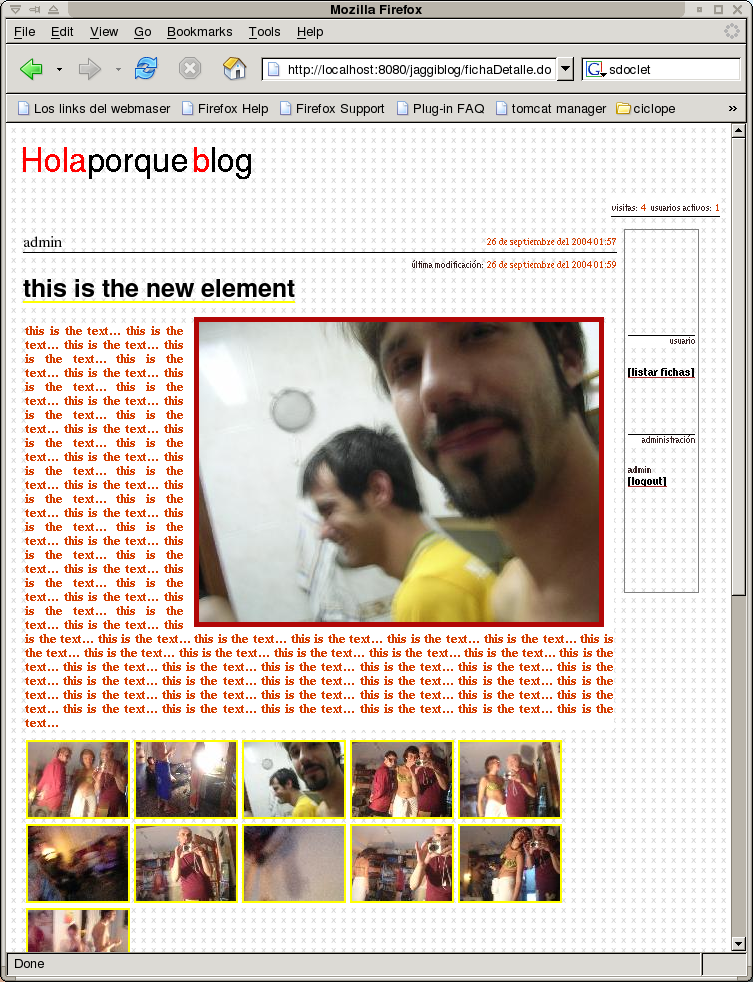
-the system presents a ramdom picture in element show.
Technical features
powered by:
-Struts
-Hibernate
-Tiles
Deploy de proyect
Requeriments:
-jsdk.1.4.0 (or
up)
-jakarta tomcat 4.0 (or up)
-ant 1.6 (or up)
-mysql 4.0
(or up)
download and uncompress the source file.
Custom the
files:
jaggiblog/configuration/hibernate.properties
jaggiblog/sql/00_db_user.sql
buil-dist.properties
2.1)
hibernate.properties
customice the next
parameters:
hibernate.connection.url=jdbc:mysql://localhost:3306/jaggiblog
hibernate.connection.username=jaggiblog
hibernate.connection.password=jaggiblog
2.2)
00_db_user.sql
write the correct name of db, and user, and
password
2.3)
buil-dist.properties
customice the next parameters:
tomcatwars.dir=
(the path to your ${TOMCAT_HOME}/webapps)
contexto= (the name of
your context)
root.id= (your root user for mysql)
root.pass=
(your root pass for mysql)
database.name= (database
name)
database.host= (database host)
Compile
and deploy the context in your tomcat:
# ant deploy_and_up
Restart tomcat
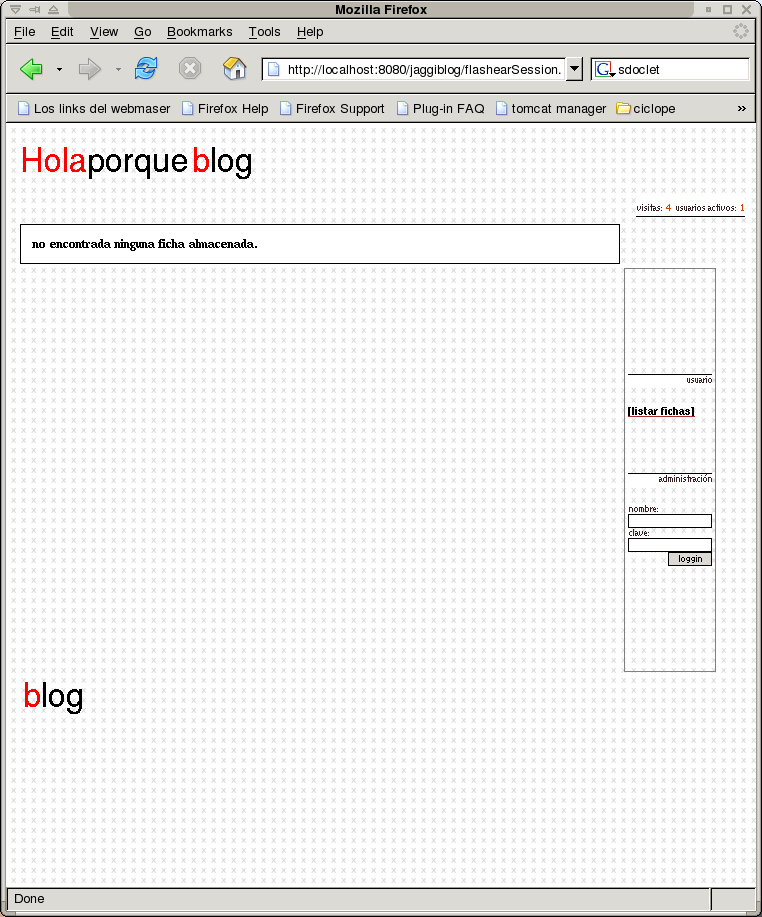
go to:
http://localhost:8080/jaggiblog
(or
another context name)
if you
have any problem write me: d2clon@desarrolladores.org
The first Element

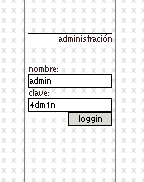
write your
user and password for administrator:
By default is admin,
4dm1n.
You can change it directy in database
update usuarios
set clave='new_pass' where nombre ='admin';
Add new element:
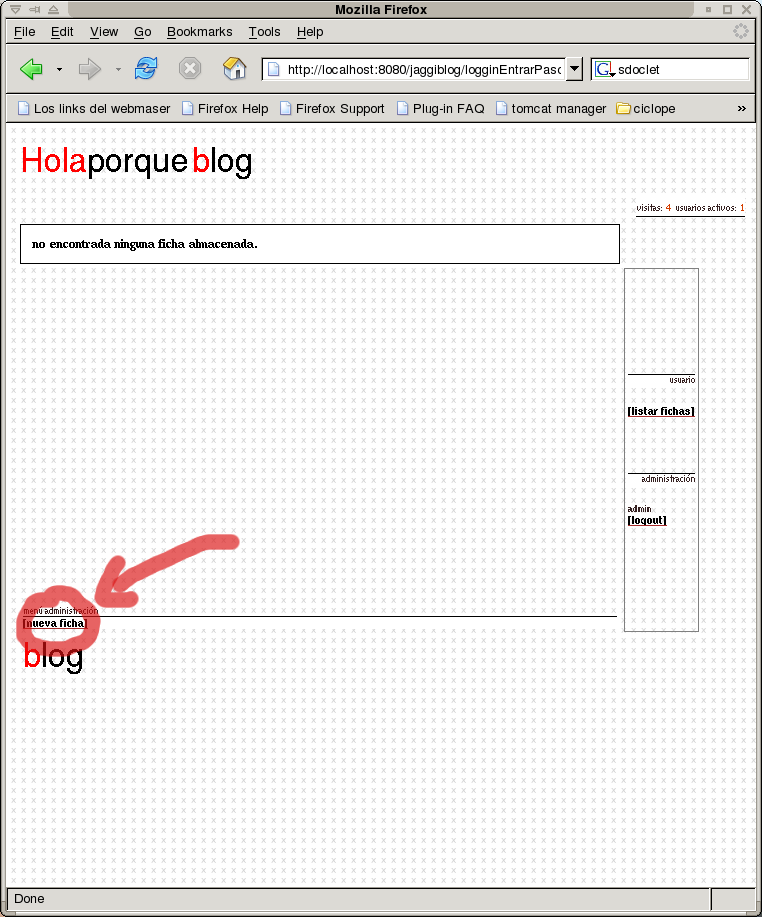
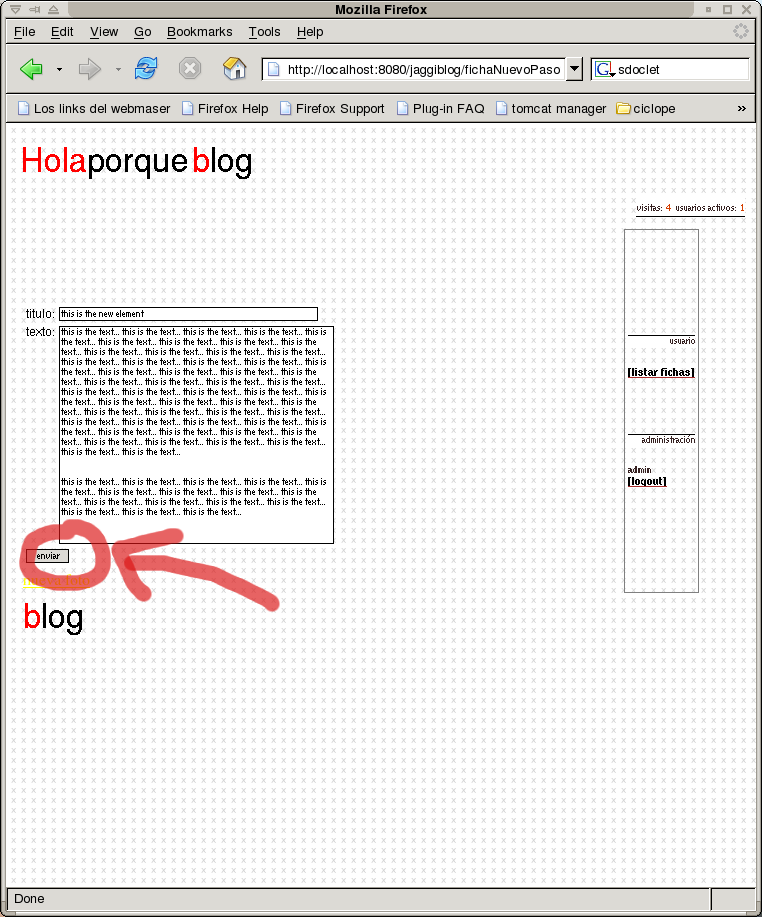
fill the title and comment zone and push 'enviar', dont push 'nueva foto' at this time why then your text in the box will be forgotten.
Add
pictures:
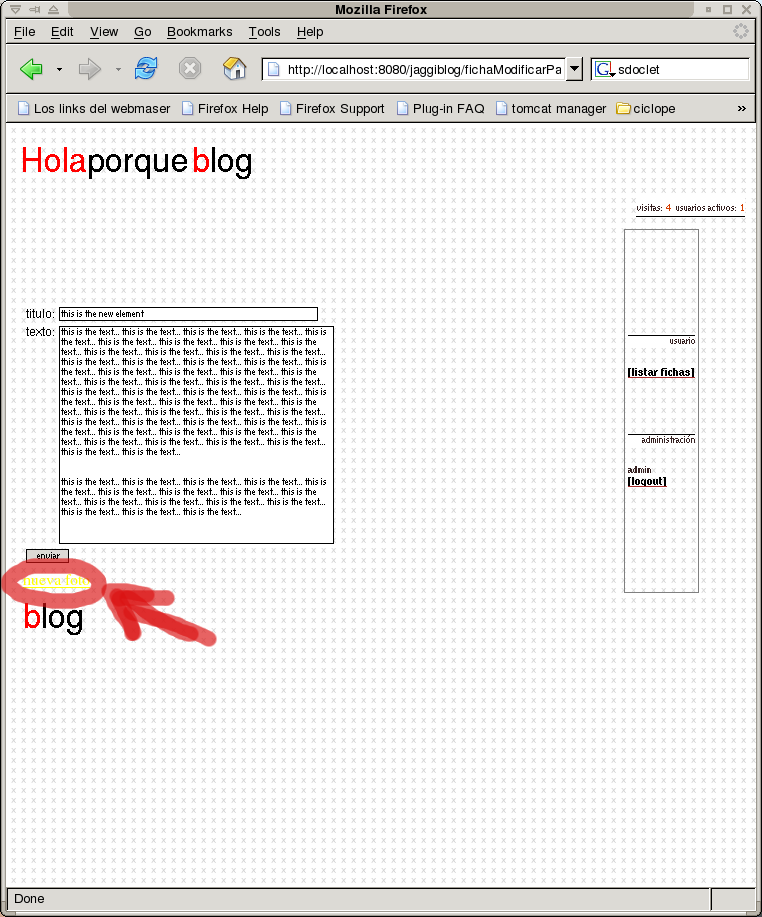
Push now the 'nueva foto' link.
Adding a
single picture:
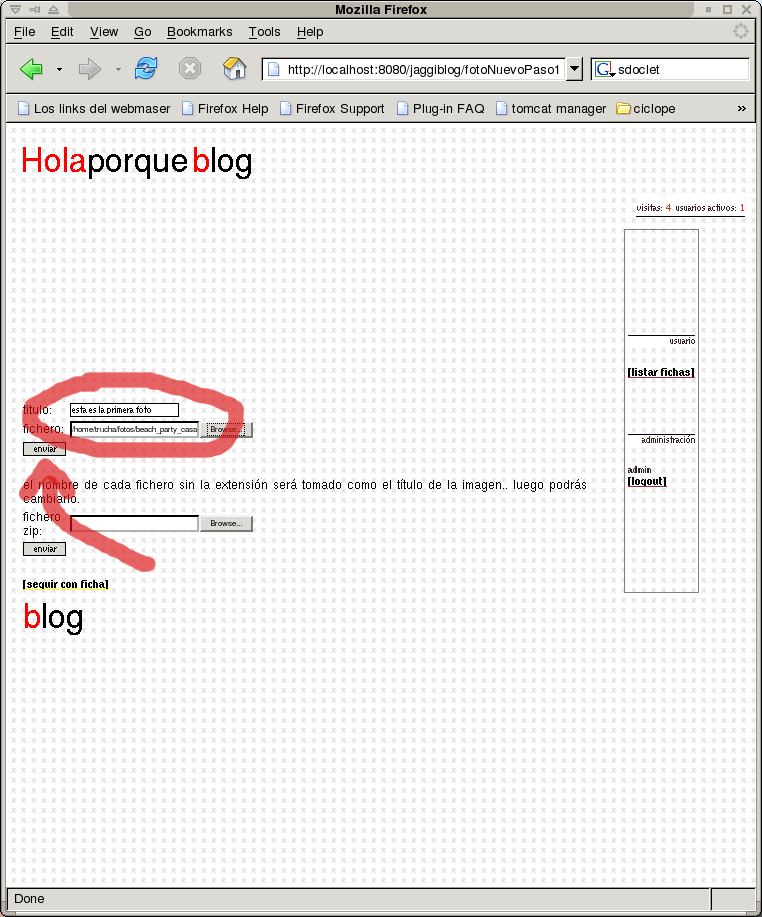
Insert a title, choose a image file and push
'enviar'.
At this time de system are uploading the file and
making thumb versions for your picture.
Adding a
multiple picutres in a zip file:
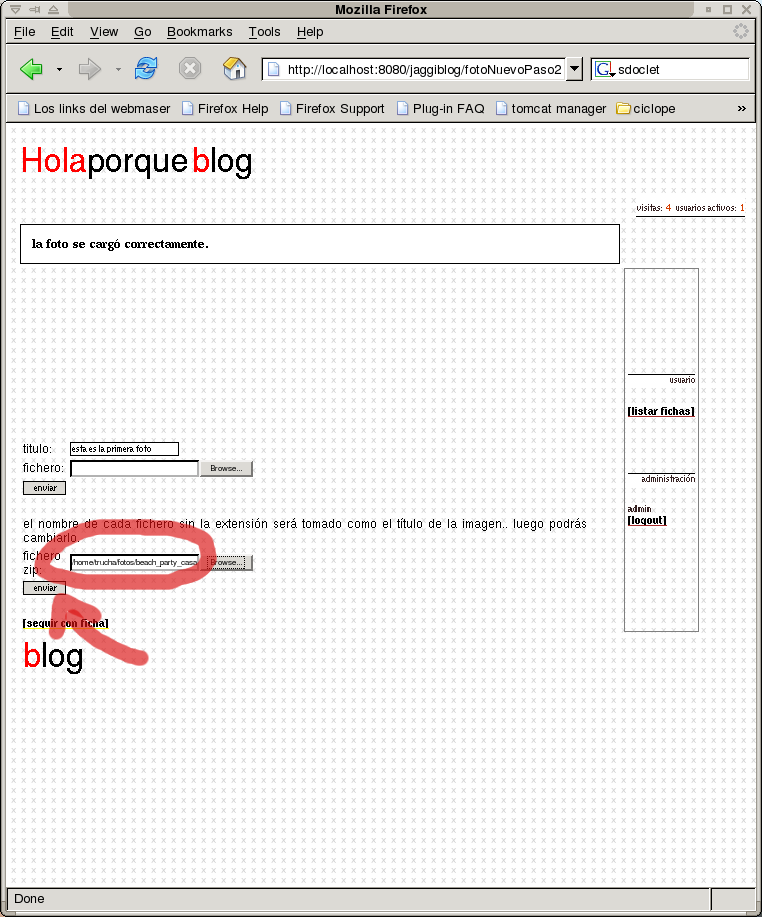
Choose a zip file and push
'enviar'.
This process can lost lot of time, depends the number
and size of pictures.
Go to edit
element zone:
Push on 'seguir con ficha' link.

Editing
element:
Here you can modified all parameters of the element and
its pictures.
Remenber push 'enviar' of wich part of element for
update de changes.

10) Listing all
elements:
only push in 'listar fichas' link on right menu.

look
element detail:
only push on the title of element.
